Pattern making
How to Make Perler Bead Patterns (Free Pattern Maker Guide)
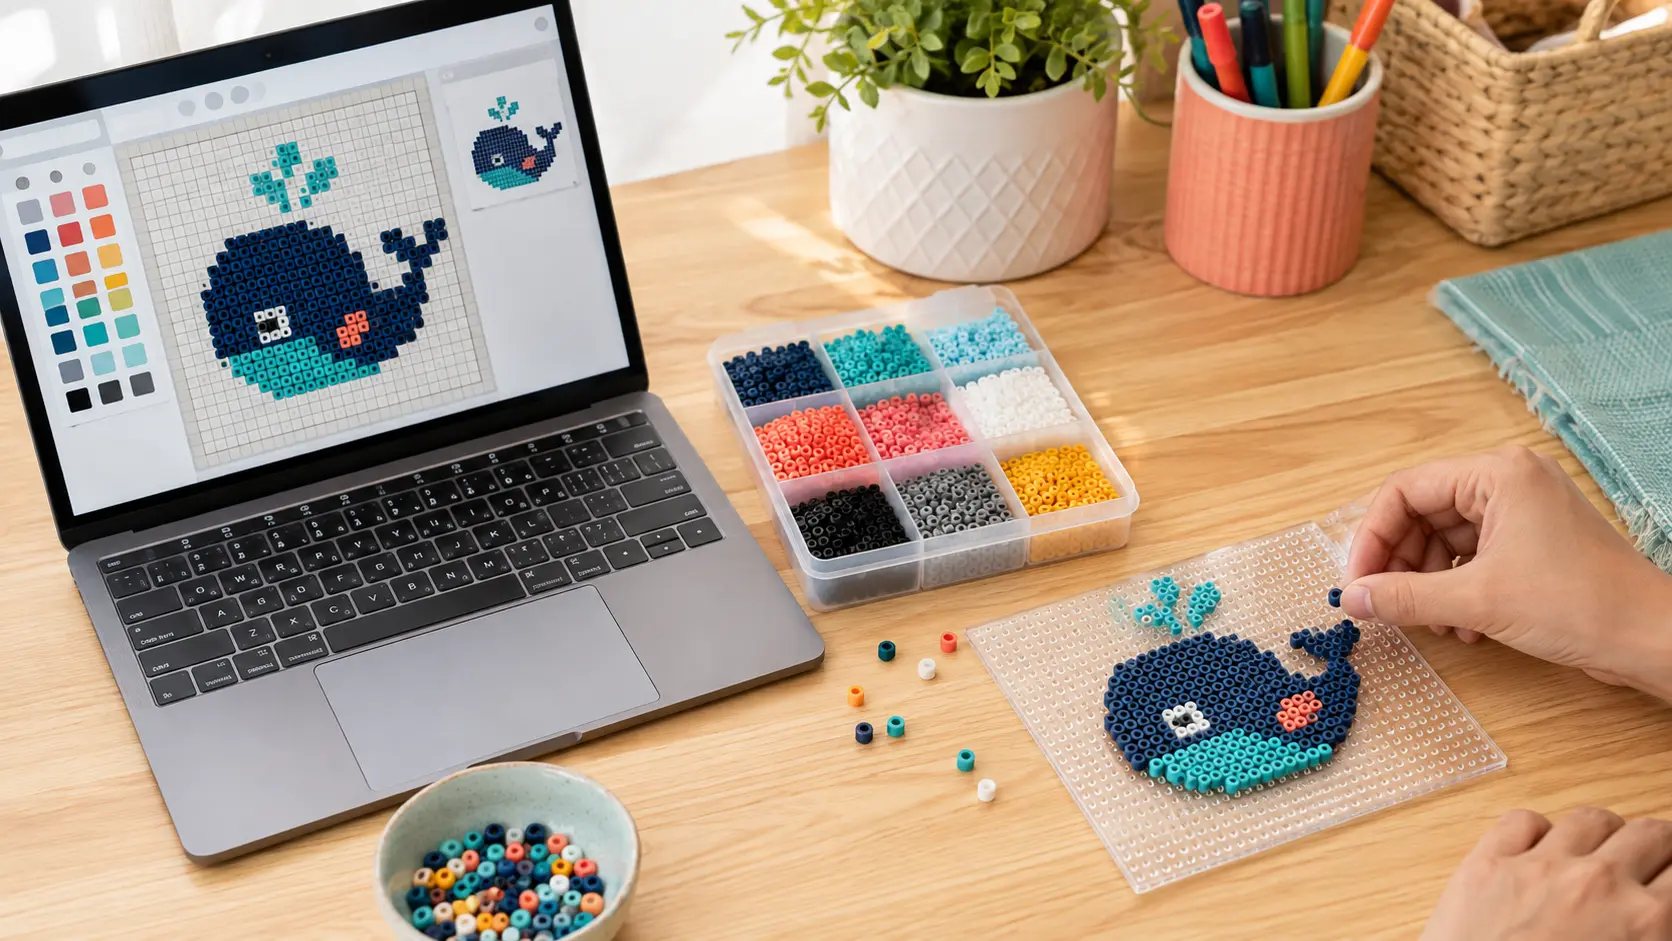
To make your own Perler bead pattern, start with a clear image or simple idea, reduce it to a bead-sized grid, match every square to a real bead color, and turn the result into a chart you can build. You can do that by hand on graph paper, but a free Perler bead pattern maker completes the tedious grid, color, counting, and printing work in seconds.
This guide shows the complete process for photos, original drawings, logos, and pixel art. You will learn how to choose the right grid size, keep colors clean, avoid muddy conversions, and export a printable pattern that works at the craft table.
Fastest method
Open the free BeadForge pattern maker, upload an image, choose your bead brand and board layout, adjust the preview, then export the PDF. It is free, has no watermark or signup, and processes the image on your device.
Three Ways to Make a Perler Bead Pattern
The right method depends on whether you are copying a small idea, designing original pixel art, or turning a detailed photo into beads. All three methods work; the difference is how much math and color matching you want to do yourself.
| Method | Best for | Main advantage | Main limitation |
|---|---|---|---|
| Graph paper | Letters, icons, and tiny original designs | Fast and tactile for simple patterns | Manual color counts and difficult revisions |
| Pixel-art editor | Sprites and original grid artwork | Precise control over every bead | Colors may not match beads you can buy |
| Perler bead pattern maker | Photos, pets, portraits, logos, and printable patterns | Automatic grid, real palette matching, counts, and PDF pages | The starting image and settings still determine quality |
Graph paper
Treat each square as one bead and draw the silhouette first. Add the largest color areas next, then details. Graph paper is excellent for a heart, name, geometric motif, or a design under one pegboard. Number the rows and columns before you begin so it is easy to find your place while building.
Pixel-art editor
A pixel editor gives you pencil, fill, mirror, and selection tools on a fixed grid. Set the canvas to the exact number of beads you plan to use: 29×29 for one standard board, 58×58 for two boards in each direction, or another known layout. The important extra step is translating screen colors to a real fuse-bead palette.
Free pattern generator
A dedicated Perler bead pattern creator combines both jobs. It reduces the image to your physical board dimensions and replaces the pixels with available Perler, Hama, Artkal, or Nabbi colors. BeadForge also lets you remove colors you do not own, edit the result on a virtual pegboard, count every color, and print the build board by board.
How to Make a Perler Bead Pattern Step by Step
- Choose one clear subject. Use a close crop with a simple silhouette and strong contrast.
- Set the physical size. Decide how many 29×29 pegboards the finished artwork may use.
- Choose the bead brand. Match against the catalog you will actually build with.
- Clean up the preview. Adjust crop, contrast, background, color count, and dithering.
- Limit the palette to your stash. Disable missing colors before you commit to the design.
- Inspect the pattern at bead scale. Check eyes, outlines, corners, and isolated single beads.
- Export and build. Use the color legend and one printable page per pegboard.
Step 1: Start with an Image That Can Survive the Grid
A bead pattern is extremely low resolution compared with a phone photo. One standard 29×29 board contains only 841 possible beads. The converter must remove nearly all the original detail, so the subject needs to be readable by shape, not by tiny texture.
- Best inputs: one face, one pet, a bold logo, a cartoon, a sprite, or a high-contrast object.
- Hard inputs: group photos, distant subjects, low light, busy rooms, thin text, and soft gray details.
- Quick fix: crop until the subject fills most of the frame and increase contrast slightly.
If the first result is hard to recognize, do not immediately add more colors. Start with a better crop. Our guide to the best images for bead patternsshows why subject size and background usually matter more than camera resolution.
Step 2: Choose the Right Pegboard and Grid Size
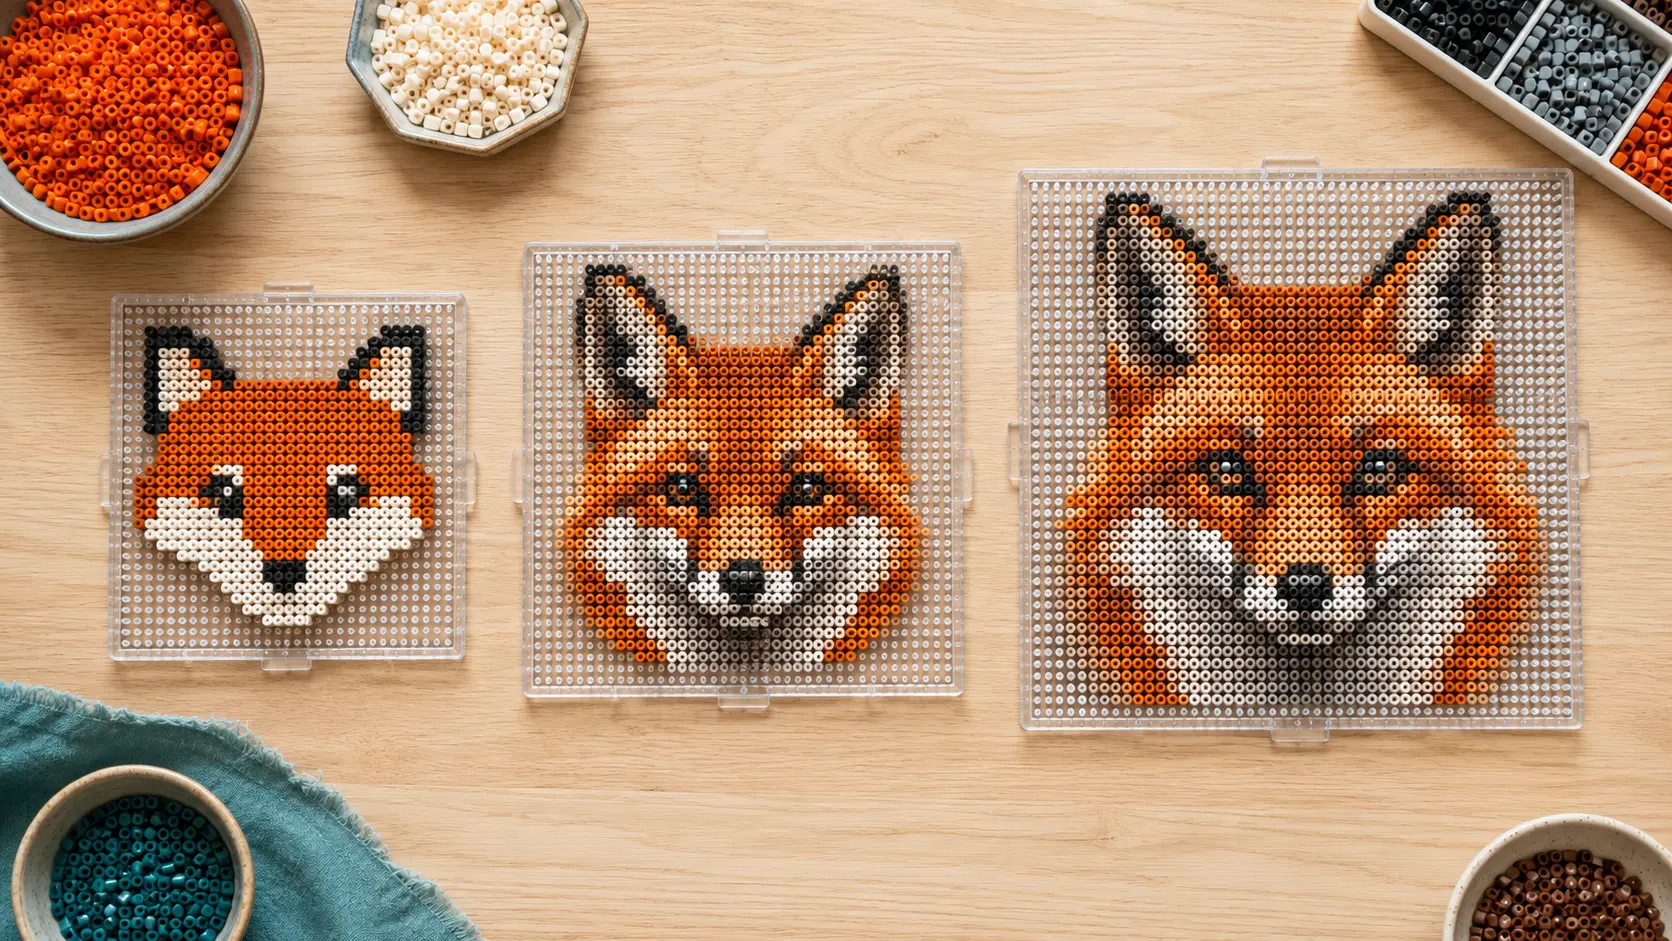
Grid size controls both detail and workload. A larger pattern can preserve eyes, edges, and shading, but it also needs more beads, boards, time, and careful fusing. Choose the smallest grid where the subject looks recognizable when the preview is displayed at roughly the finished viewing size.
| Layout | Bead grid | Maximum positions | Good starting use |
|---|---|---|---|
| 1×1 standard board | 29×29 | 841 | Icons, letters, simple sprites, small ornaments |
| 2×2 boards | 58×58 | 3,364 | Pets, simple portraits, logos, medium wall art |
| 3×3 boards | 87×87 | 7,569 | Faces, detailed portraits, vehicles, landscapes |
| 4×4 boards | 116×116 | 13,456 | Detailed wall pieces and complex commissions |
Empty background cells do not consume beads, so those totals are capacity rather than a required shopping list. Use the pegboard size guide for physical dimensions and the bead count guide for project math.
Step 3: Match the Pattern to Real Bead Colors
A normal image contains millions of possible colors; your bead box does not. A useful pattern maker maps each grid cell to a named color from a real manufacturer palette rather than producing generic RGB squares. Choose the same brand and bead size you plan to use because color catalogs and melting behavior differ.
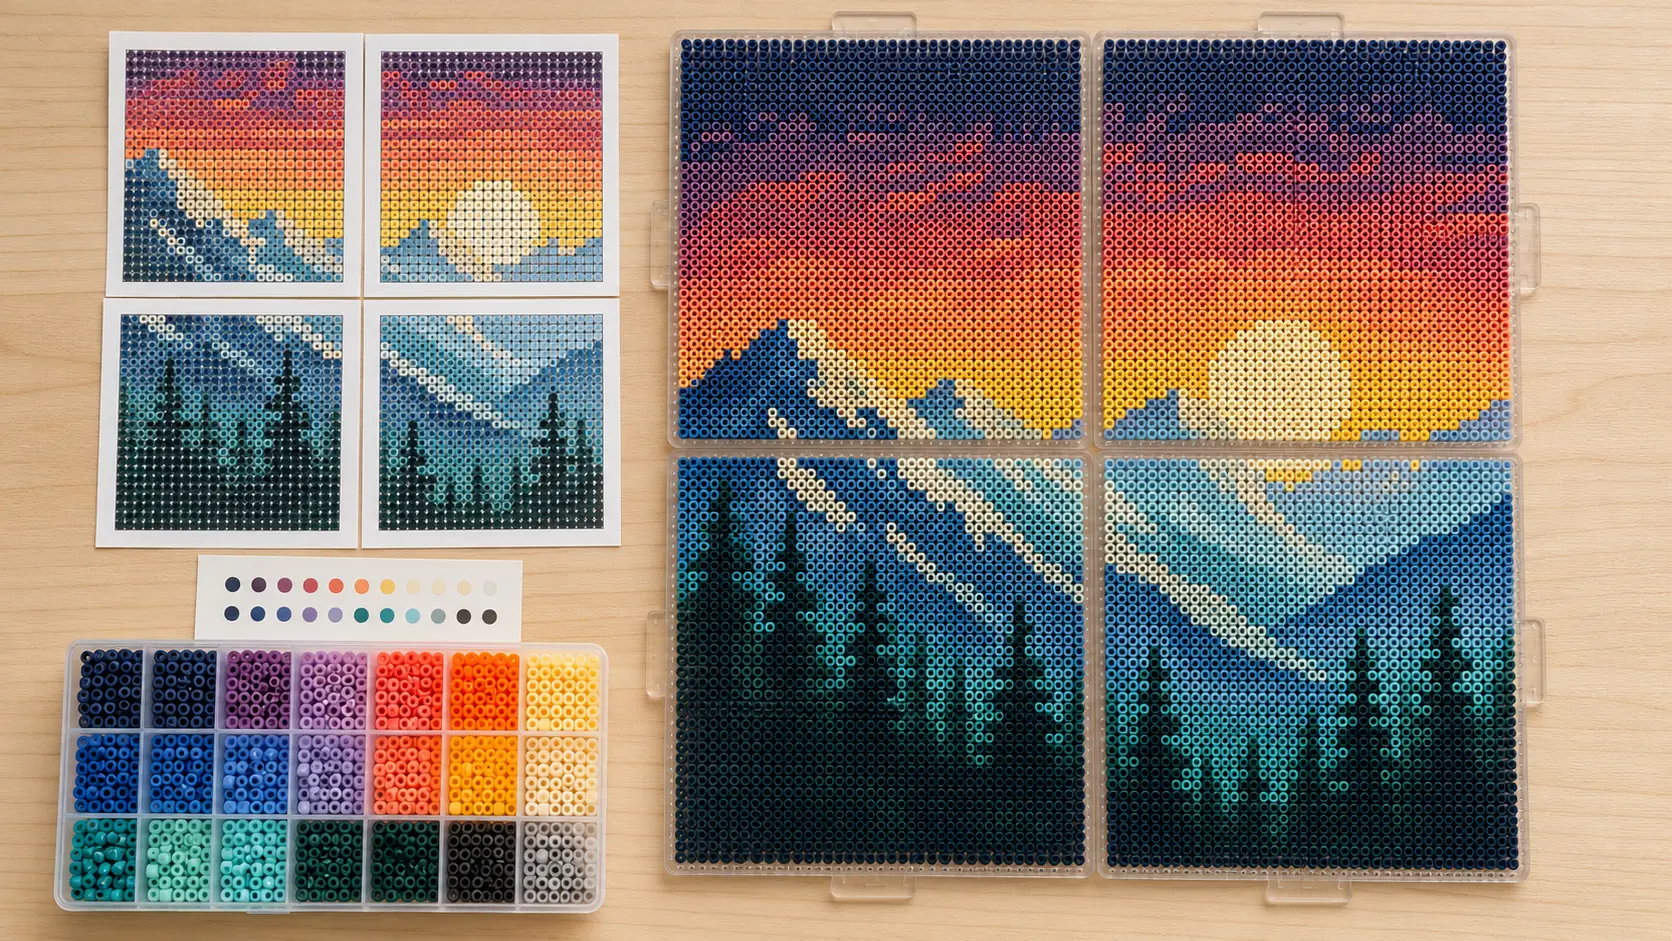
Start with fewer colors than the software suggests. Eight to sixteen colors are enough for many designs and create cleaner shapes, faster sorting, and fewer near-identical shades. Add a color only when it restores an important feature, such as the highlight in an eye or separation between a face and background.
Use the colors you own
In BeadForge, switch off any unavailable bead colors. The entire pattern remaps to the nearest remaining options, so the final legend is a buildable plan rather than a surprise shopping list.
Step 4: Decide Whether to Use Dithering
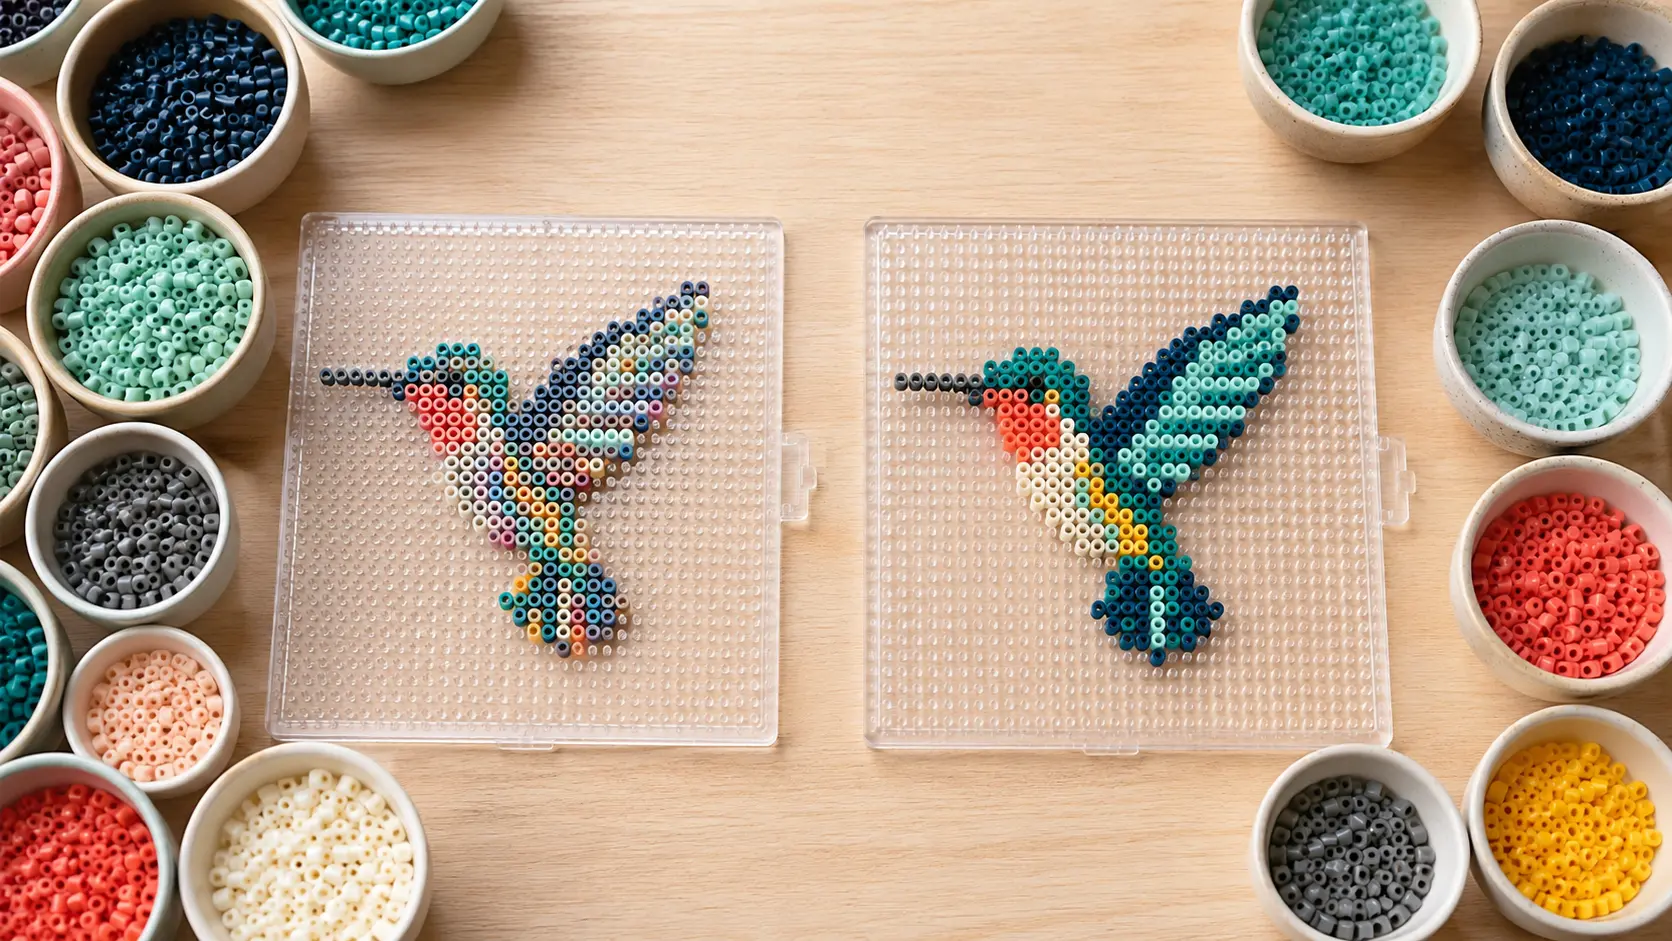
Dithering alternates available bead colors to simulate a shade that does not exist in the palette. From a few feet away, the colors blend visually; at the table, they look like a deliberate speckled pattern.
- Turn dithering on for skies, skin, fur, water, sunsets, and other smooth photo gradients.
- Turn dithering off for logos, lettering, cartoons, geometric designs, and existing pixel art.
- Test both versions for portraits. Use the one with clearer eyes, mouth, and silhouette.
Dithering cannot rescue a pattern that is too small. If a face becomes noise, increase the grid size or crop closer before adding more color variation.
Step 5: Edit the Bead Grid Before You Print
Automatic conversion is a strong first draft, not a rule. Zoom in and look for isolated beads, broken outlines, uneven symmetry, and details that matter to recognition. A few manual changes often improve the finished artwork more than another round of global settings.
- Remove single background beads that add visual noise or make fusing awkward.
- Strengthen important outlines with a consistent dark color.
- Mirror eyes, ears, lettering, or geometric shapes when symmetry is intentional.
- Leave empty cells around delicate edges so the silhouette stays readable.
- Check that every section connects if you want one solid finished piece.
For original artwork, start directly in BeadForge Studio and draw on the virtual pegboard. For existing pixel art, preserve one source pixel per bead whenever the sprite already fits your intended board size; thebead sprite guide covers that workflow.
Upload a photo or draw from scratch, choose the beads in your stash, and preview every board before you print. Local conversion and exports need no account and add no watermark. Optional account cloud saves and publishing upload the relevant project files and previews.
Make a custom pattern free →Step 6: Export a Pattern You Can Actually Build
A useful Perler bead template needs more than one preview image. Export a PDF with an overall reference, exact counts by color, a legend that distinguishes similar shades, and one grid page for each physical pegboard. That turns a large design into small repeatable sections and prevents accidental row shifts.
- Sort the required colors before placing the first bead.
- Match each printed page to its pegboard position.
- Build in rows or color blocks and mark completed sections.
- Compare board edges before joining a multi-board design.
- Photograph the completed layout before fusing as a repair reference.
See how to print Perler bead patterns for page scaling and multi-board organization. When the layout is complete, follow the iron temperature and settings guideinstead of guessing at heat and timing.
Common Pattern-Making Mistakes
Choosing too small a grid
If the subject is recognizable in the photo but not the pattern, the grid may not contain enough bead positions. Crop tighter first; then add boards only if important features still disappear.
Keeping every available color
More colors do not guarantee more accuracy. Too many neighboring shades produce a noisy design, complicate sorting, and make substitutions harder. Reduce the palette until every remaining color has a visible job.
Judging only while zoomed in
A bead portrait is designed to blend at normal viewing distance. Check the full preview at several sizes. Small inconsistencies may disappear from across the room, while weak silhouettes remain weak at every zoom.
Ignoring the physical build
A beautiful screen image can still be frustrating if it calls for unavailable colors, spans an awkward board layout, or contains many disconnected single beads. Review the count, palette, support, and fusing plan before placing thousands of beads.
Make the Pattern, Then Make It Yours
The best custom Perler bead pattern is not always the most photographic conversion. It is the version that preserves the subject, fits your boards, uses your bead stash, and feels good to build. Use the generator to handle repetitive math, then make deliberate creative choices about crop, scale, palette, and detail.
If you are starting with a camera image, continue with our complete guide on turning a photo into a Perler bead pattern. If you are comparing tools, see the 2026 pattern converter comparison.
Frequently asked questions
How do I make my own Perler bead pattern?
Choose a simple image or sketch, convert it to a bead-sized grid, limit the colors to beads you own, and print or follow the final chart. A free Perler bead pattern maker such as BeadForge handles the grid conversion, real-color matching, bead counts, and board-by-board PDF automatically.
What is the best free Perler bead pattern maker?
The best tool is one that maps images to real bead-brand palettes, lets you control pegboard size and colors, and exports a usable pattern without a watermark. BeadForge is free, requires no account, supports Perler, Hama, Artkal, and Nabbi palettes, and processes images locally in your browser.
Can I make a Perler bead pattern from a photo?
Yes. Crop the photo tightly around one clear subject, choose enough pegboards to preserve its important features, then adjust contrast and palette size before exporting. Portraits and pets usually need a 2 by 2 or 3 by 3 board layout; simple icons can fit on one 29 by 29 board.
How big should a custom Perler bead pattern be?
A one-board 29 by 29 pattern works best for icons, letters, and simple sprites. Use 58 by 58 beads for most photos and 87 by 87 or larger for faces, pets, and detailed scenes. Pick the smallest size where the subject is recognizable at normal viewing distance.
Can I print a Perler bead pattern?
Yes. A useful printable pattern should include a grid, color legend, exact bead counts, and separate labeled pages for multi-board projects. BeadForge exports those pieces together as a free PDF so you can build one pegboard at a time.
Ready to make your own pattern?
BeadForge turns any image into a printable fuse bead pattern with bead counts and pegboard sizing — free, in your browser, no signup.